I bought and like Clark's doors for my second M200 (and heartily recommend them to others), but I think my original with black grommets is cleaner-looking somehow, as well as being less fussy to remove/re-attach. And nothing beats the satisfying 'click' of those magnets :)
Do you have asolution forthe front panel?Into adoor?
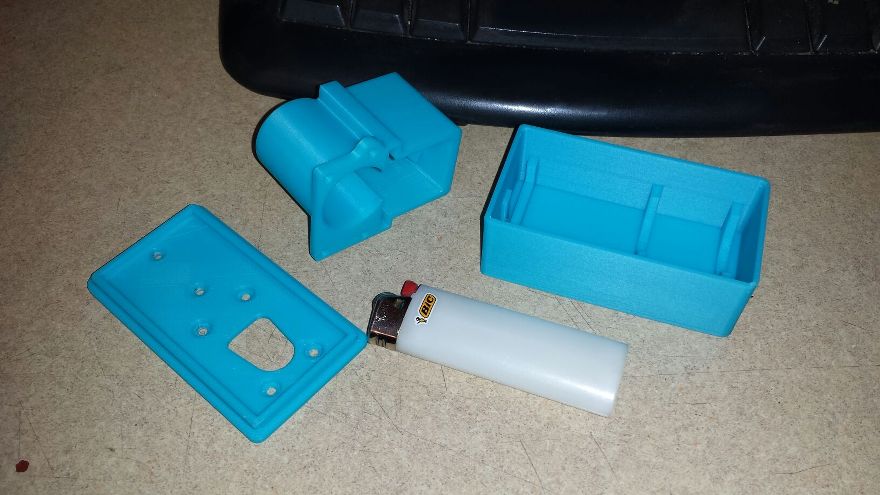
They work well, which surpised me. I thought I'd have to make adjustments to the design to get them to work.
I left clips on the right panel, while printinng more clips for the other two panels, over night. The panel stayed put. As you can see I fitted the other two panels with clips. They work well, but time will tell if they continue to work. I used ABS, but I probably should have used HIP.
The nice thing is they're easy to remove and fit, and I don't have to crawl on the floor looking for lost clips!
As making the front panel into a door, I think that would be a bit more complicated, given that I would need to put hinges along one side. This would mean putting holes into the printer, something I really don't want to do. But I like my solution. It works. For now.
Latest on my splitting problems: Unfortunately I did not take pictures this time, but... reprinted the rear half of the speaker housing in light grey ABS, twice. The first time I got spliting of the support structure as before, like in the picture with the red housing. I also got a split on the housing itself, on the bottem end. I sealed it by melting filament along the split. Doesn't look pretty, but it should help with sound quality. The second print I got the same spliting of the support structure, same place, but the body of the housing did not split. In fact, other than a little deformation where the structure split, the whole housing came out near perfect.
Trial and error, I guess.
Also, I had two people request copies of my clip design. I like to thank axel for his comments. I'm glad his prints of my clips were successful and they worked.
I noticed two customizations about your printers that made me curious: the first was the clips that hold the filament tube to the ribbon cable and the second was the yellow housing around your extruder motor connections. Were there functional reasons for these, or just aesthetic?
I noticed two customizations about your printers that made me curious: the first was the clips that hold the filament tube to the ribbon cable and the second was the yellow housing around your extruder motor connections. Were there functional reasons for these, or just aesthetic?
i've used your latch design for the front panel only and for the side panels i used the classic clip, just resized to 3cm in height so as to grip better
the lcd you see is a cheap probe that shows moisture/temperature readings from inside the printer
Well cover me in oil and feather my ass. I just had Z-ABS split on me. Using .39 solid infill 20% support and auto fan. 71% finished on a 12 hr print and I got home to have to cancel it.
What a waste! I really didnt want to use Zultrat as the cost is much higher per gram.
This is a typical case of "printing a box". That's the most difficult thing to print on a FDM printer. The long straight sections start to pull during cooling.
Make sure to set the fan to 0% (not even auto). And get some side covers to keep the heat in the build area. The printer should also be in normal room temp…not e.g. in a garage. But even with all that you probably need to print it upright, still.
If you still have issues then, you might have to try Ultrat…and as last resort…Hips…
wish I had read this before I started my print. bummer I really wanted a RedBox too.
Not sure If I want to chance trying again with no fan. DO you think it will print right with no fan?
Would have to turn on its side to have the long side vertical?
Could but I wanted the thickness for strength. Something that doesn't have to have gloves on to move around. lol But I know, if that was the case I would've went with Ultrat. hah
Unfortunately all of it should work equally the same but thats the biz. try, Try and try again.
Not the case in any plastic manufacturing. Most injection molded parts have thin walls with support ribs.. This keeps mass and shrinking down. Gotta think how they would injection mold it.. (outside the box) :D
Have you tried a different spool of filament? Sometimes its just the filament. I don't know how good the QC is on Zortrax filament is but I've used manufacturers in the past whose filament almost sent me to the mental hospital until I figured out "it was them, not me...".
I think the Z-ULTRAT filament has a lower coefficient of thermal expansion than the regular ABS. Have you tried it?
Also, its possible that your nozzle could have some build-up and isn't heating the filament enough. If the filament doesn't get hot enough it doesn't bond very well between layers because the filament doesn't get past the glass transition temperature so it doesn't melt to subsequent layers.
Ultimately, part geometry plays a big part. ABS has such a high coefficient of thermal expansion that tall parts with long straight runs have a lot higher chance of pulling up or delaminating than parts with holes or bends. Think of each layer as laying down a stretched rubber band. As the part grows taller the force of the rubber bands increases proportionally until something gives. The "rubber band effect" is caused by the high coefficient of thermal expansion of the ABS so it starts shrinking from the moment it leaves the hot end. That's why commercial printers use a heated print volume... so they can reduce the temperature difference between the extruded plastic and the part which reduces the rubber band effect proportionally. Then they cool the entire part down after the print is finished so everything shrinks at the same time thus causing much lower internal stresses between layers.
Just putting some holes, counterbores or pockets on the inside of the long runs of your part may help reduce stresses and delamination. You can also put bends in long runs if it doesn't hurt the end goal for the part... think of pulling a slinky apart vs pulling a cable. The slinky just bends and stretches. The cable builds up stress very quickly.


