This days I’ve been working/playing with my printers and so far I am pretty happy with the results, I only have a question about the results.
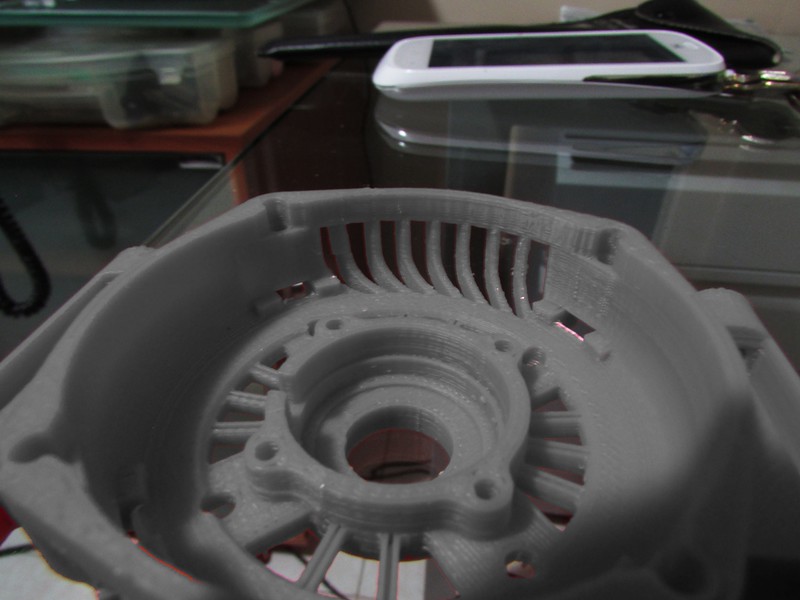
In the next image you can see the bottom face of a print which needed support, you can see the toolpaths and many areas which need more material and where the infill is faulty.
While, the opposite face was perfect:
I like the way the visible (top) surface is enhanced (2nd image), but I would like to see the same quality on the other side of the prints. From my point of view, this is the nearly the only missing detail to obtain perfect parts.
@Zortrax team, I think this may be solved by decreasing the distance between lines in the supported faces, would it be useful if I take some measurements using a microscope to determine the exact distance to reduce this effect? or are you already working on it?
It is not about top/bottom infill issue this lines give a possibility to easily break away support without damaging model, just in case as on your model it is visible more than it should be.
Supported side can be smoother but is hard to do it so perfect as top surface (more like a surface which have contact with break away raft), currently we are so overloaded that I even cannot imagine when we can tune it.
Thats very interesting, so my understanding if this model had been printed the other side up with support the surface would have had the smooth finish. Would incorporating another object above add support that would improve the finish ?
Thank you for the answer, it’s ok, I just wanted to know the reason of those lines, I have no problem hith that, I will print the visible side of the prints on top, also, I found that this toolpaths are visible only for faces whith inclination angles below 7 degrees. I think it’s a clever way to solve the problem of suport adhession.
Doesn’t really look much different to what I would expect to see from an UP. Given that you are using .2mm. Higher resolution will improve this somewhat, and perhaps the Zortrax team will refine the process further in future updates.
I wouldn’t print it the other way unless you have to have that side looking as good as possible. You will have lots of support to remove otherwise.
@dhatw Don’t be scared, that part has a diameter of only 40mm , I used a macro lens to get that detail, this is not really visible, but because I have been working with 3d printers for some years, this are the kind of things I look for when buying a new one.
@The6guest I am using zSuite 0.0.2
I am not worried for the final quality, it’s proven good, There is nothing that a little of acetone couldn’t fix!!!
[quote name=ACC]@dhatw Don’t be scared, that part has a diameter of only 40mm , I used a macro lens to get that detail, this is not really visible, but because I have been working with 3d printers for some years, this are the kind of things I look for when buying a new one.
@The6guest I am using zSuite 0.0.2
I am not worried for the final quality, it’s proven good, There is nothing that a little of acetone couldn’t fix!!!
[/quote]


 Everything is depend on part bottom side angle and features size.
