What could be the cause of this (see attached image)? I carried out x & y maintenance just now but everything seemed ok (belt tension and tight screws). I am now re-printing. I did noticed some stickiness to the movement of the print head along the rails in the x & y, especially closer to the edges. Cheers.
What could be the cause of this (see attached image)? I carried out x & y maintenance just now but everything seemed ok (belt tension and tight screws). I am now re-printing. I did noticed some stickiness to the movement of the print head along the rails in the x & y, especially closer to the edges. Cheers.
have you tried [url=http://support.zortrax.com/axes-maintenance-m200/#step_14]lubricate axes[/url]?
Also, if its M200, you may try doing [url=http://forum.zortrax.com/index.php?/topic/2857-additional-xy-axes-maintenance-tools/]that[/url]
I made the same test prints back when the Z axis was out (fixed with updated z-suite). while the column/pillar was printing i touched the hot end with my finger and followed the movement purely out of being bored. I noticed these exact same lines, even if my finger was rested as light as possible.
Just thought ide share that with you.. might help in your quest
Marcin, your print looks good, thanks for checking. I re-did the x/y calibration and checked alignment again with the printable jigs and made a few adjustments to that. See results with attached image. Everything seemed to be going great until the very end/top. Which got me thinking, I opened the door on the printer at this stage only, to have a look. Is Z-ABS so sensitive that the slight change in temp could cause the layer shift? When I say slight temperature change, the room temp was around 26-28 Celsius. I watched the printer for a few layers, 5 mins or less and then closed the door again until the print was finished. Could this be the cause or just coincidence? As for the x and y resistance, yes, my printer has always had a little bit of resistance when moving on the x and y axes when switched off. There seems to be more resistance when approaching the outer limits compared to the centre of the print area. Sometimes if you move the extruder to the our edges, let it go and then try and move it again it takes some effort to do so. With a bit of sideways force it will move again but that just seems too tight to me. I have tried grease and alignment as well as belt tension a number of times.
Andy_B, thanks. I tried a few different versions of Z-Suite. 1.1 and 1.4.1. Both gave different results so am not sure exactly which was better but I have now decided to stick with 1.4.1 as I am happy with the current results.
This model I printed many times it do not show any correlation with mechanics and only showing the temperature changes due of height I assembled two heaters at Zortrax side covers and then this model was printed perfectly without additional heating material shrinkage is too fast and nozzle start to drag model at some point. With PETG and HIPS this phenomen do not exist with this model only Z-ABS and Z-Ultrat are problematic to print it. If wall thickness is bigger then it also solve problem, overall this model is not enough stable with Z-ABS/Z-Ultrat.
This model I printed many times it do not show any correlation with mechanics and only showing the temperature changes due of height I assembled two heaters at Zortrax side covers and then this model was printed perfectly without additional heating material shrinkage is too fast and nozzle start to drag model at some point. With PETG and HIPS this phenomen do not exist with this model only Z-ABS and Z-Ultrat are problematic to print it. If wall thickness is bigger then it also solve problem, overall this model is not enough stable with Z-ABS/Z-Ultrat.
Hi Mark,
Very interesting. I have a roll of Z-HIPS and I will try that next.
This model I printed many times it do not show any correlation with mechanics and only showing the temperature changes due of height I assembled two heaters at Zortrax side covers and then this model was printed perfectly without additional heating material shrinkage is too fast and nozzle start to drag model at some point. With PETG and HIPS this phenomen do not exist with this model only Z-ABS and Z-Ultrat are problematic to print it. If wall thickness is bigger then it also solve problem, overall this model is not enough stable with Z-ABS/Z-Ultrat.
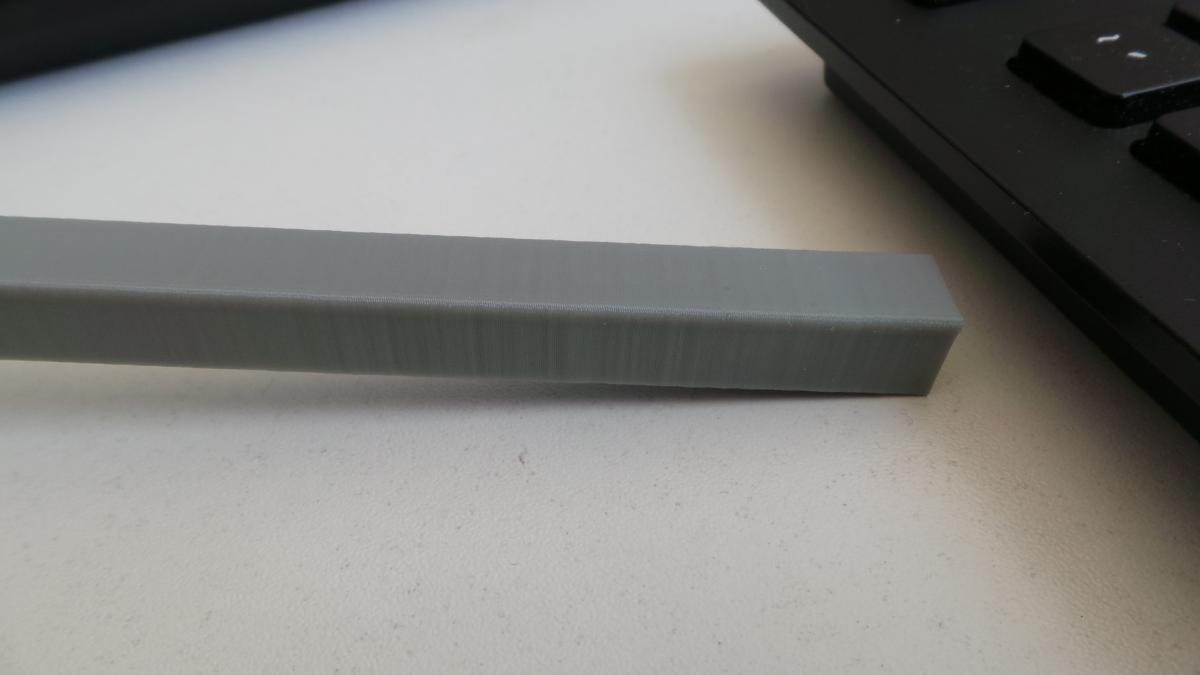
So I tried with Z-HIPS over the weekend, see top object in photo. It printed much better then Z-ABS. There is a small amount of shifting near the top again but it's so faint it is hardly worth mentioning, but it is there. I feel as if my M200 is finally starting to perform as I would have expected from day one. Sadly however that hasnt been the case - with the new PCB and thermocouple unit I had to buy and the maintenance and adjustments needed to the x & y it is only now performing as it should.
Maybe I was a little too eager to solve this problem, or at least, to understand why my hotend does not move smoothly along the X&Y axes (movement becomes tight and/or stops towards the edges of the print area when moved by hand). So, being the impatient person I am I pulled out everything associated with the X&Y movement. No issues, all went to plan and was put back together in a day, but I still cant eliminate the tighter movement towards the outer limits of the print area, more noticeable in the corners. Is there a guide to the correct alignment procedure when reassembling the X&Y axes?
I haven't done it, but my guess for the larger rails:
1. move the xy head to one corner
2. lock bearing pillow blocks at that corner
3. move the xy head to opposite corner
4. lock bearing pillow blocks at that corner
Printer seems to be printing well now. Still a bit sticky at the edges but I rarely print that large. I will try as you suggest when I don't have anything ready to print. Thank you for the suggestion!