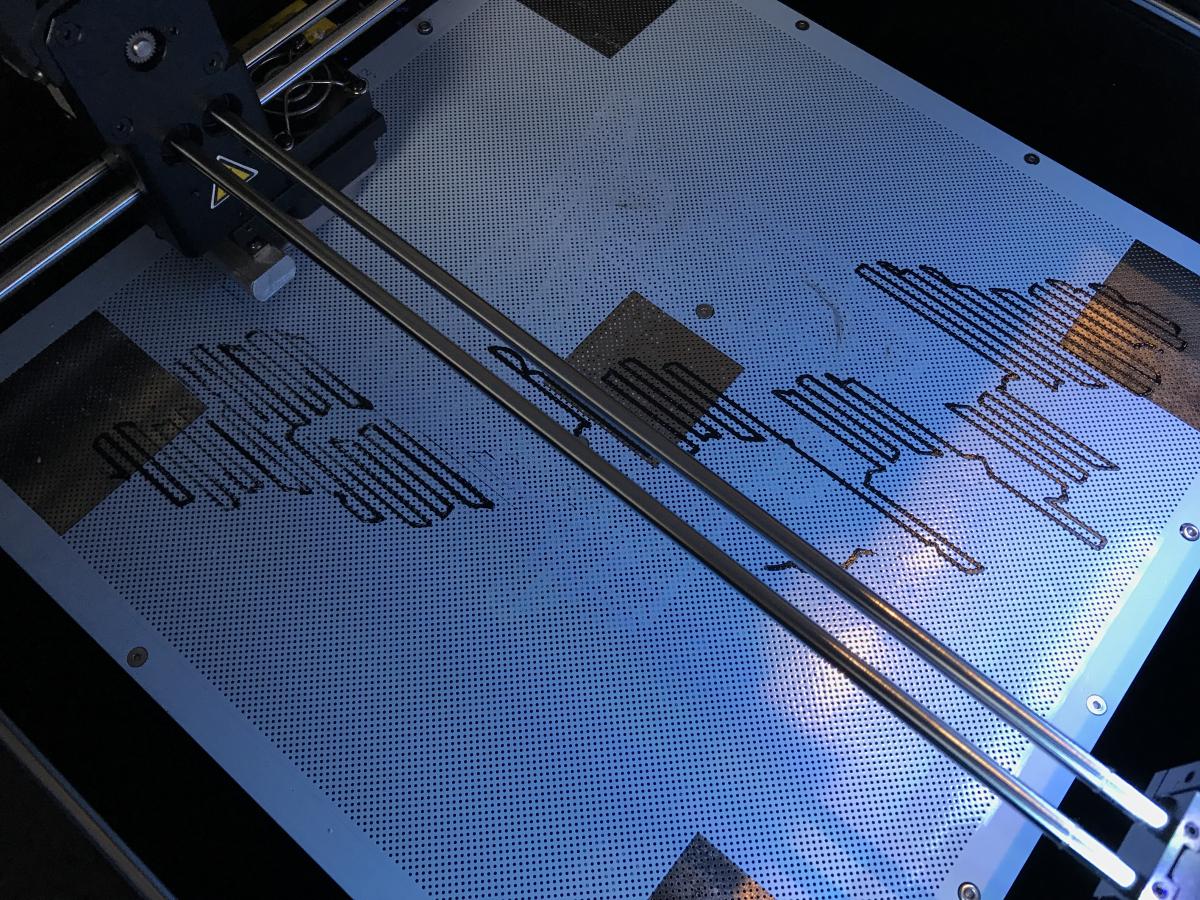
The bed leveling function seems to work “kind of” good, trying to print a customer order now which will use the whole plate (yes that’s why I spent 5000 USD and not just bought a CR-10 for 400 USD), and the bed isnt level. The instructions says to tighten all three screws before running the calibration, which I do, and the calibration runs great with 0.0 at most points, only -0.1 at the front right corner, this seems to be enough to jam the nozzle into the plate in the left back corner though. And since the screw is tightened to the max I cant adjust it while printing either.
If I cant adjust the Z offset value in the firmware while printing and the first raft layer isn’t high enough to swallow errors like this what’s your recommendations? I recalibrated twice and I’ve made sure that the spool with filament is spinning like it should.
Should I start the calibration with the screws unscrewed a few turns? That would give me a possibility to adjust it for the first layer if needed?
I start with all three screws roughly in the middle position to allow positive and negative adjustments. Check the flatness of your plate with a straight edge. Plastic builds up between the perforated plated and the heated aluminum section with use which causes high spots on the perforated plate
I start with all three screws roughly in the middle position to allow positive and negative adjustments. Check the flatness of your plate with a straight edge. Plastic builds up between the perforated plated and the heated aluminum section with use which causes high spots on the perforated plate
I’ve only printed like 5 prints with it so far, is that print time enough? I redid the calibration but started with each screw screwed out about 3 turns, it makes it alot easier and it kind of feels like it makes the springs work as they should.
If I tighten all screws before doing the calibration the left rear corner is never touched during calibration and stays totally stiff which doesn’t feel right on a spring suspended build plate.
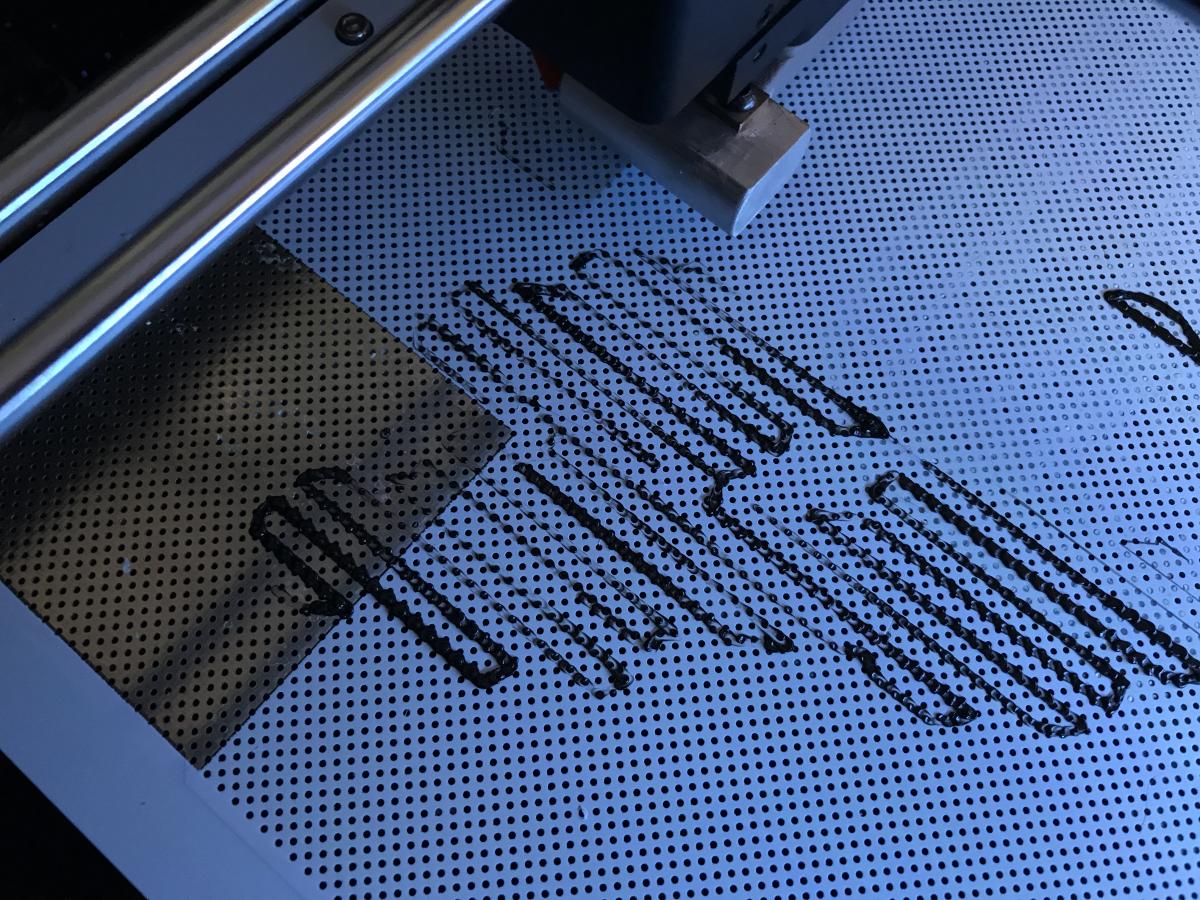
Restarted the print now and it already looks better!
I would recommend the FW to be updated to “Tighten all three screws and unscrew them three full turns” or similar.
I had almost the same issue... in my case it was large buildplate of the M300 which wasn't even. The center was lower than the corners/edges. Zortrax sent me a new bed and plate and now the problems are gone. But I'm not sure for how long. At the beginning it was also fine with the bed/plate I had to replace.
My theory is as following: At the beginning of every print the nozzle touches the plate with a certain force. With the replaced plate there were quite a few moments I was able to see how the nozzle had to get pressed really hard into the bed to make contact and so the axis-rods got bent a little (at least that little I could recognize it). And I think this will bend the plate in the center area over the days and weeks.
I recommended Zortrax to check the initial hight in one of the corners (best would be in the back) were the plate is fixed to the frame and the frame would take the pressure not the bed.
Well... I will keep you up to date how my new bed/plate is doing... have been running it for a week now so the troubles could return any moment but I hope they won't... so far I have only seen soft "touchdowns" ;)
I've only printed like 5 prints with it so far, is that print time enough? I redid the calibration but started with each screw screwed out about 3 turns, it makes it alot easier and it kind of feels like it makes the springs work as they should.
If I tighten all screws before doing the calibration the left rear corner is never touched during calibration and stays totally stiff which doesn’t feel right on a spring suspended build plate.
Restarted the print now and it already looks better!
I would recommend the FW to be updated to “Tighten all three screws and unscrew them three full turns” or similar.
Thanks Mattel!
regards Patrik
Do you use ABS/Acetone mix on the perforated plate? This builds up underneath very quickly and causes issues. If the plate is as it came from the factory 5 or so prints shouldn't have cause too much of a buildup as yet
Do you use ABS/Acetone mix on the perforated plate? This builds up underneath very quickly and causes issues. If the plate is as it came from the factory 5 or so prints shouldn't have cause too much of a buildup as yet
no Im not using any adhesives, I’m having a hard time getting prints off the plate so far