After seeing Trhuster print this fan shroud without support, I thought I would try a couple prints without support as well to see how well the Zortrax makes bridges. I only printed the very top of the Secret Heart Box and the Harmonic Drive to try it out so I didn’t have to print the whole thing in case something went wrong.
The Secret Heart top printed ok except there wasn’t enough of a ledge for the filament to catch on where the top part opens up…
The top of the Harmonic Drive bridged very well though and only has a slight drop in the center…
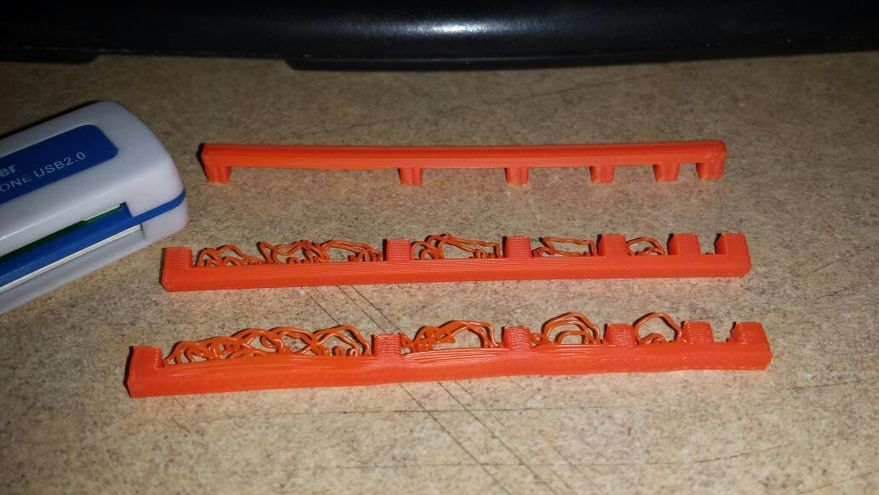
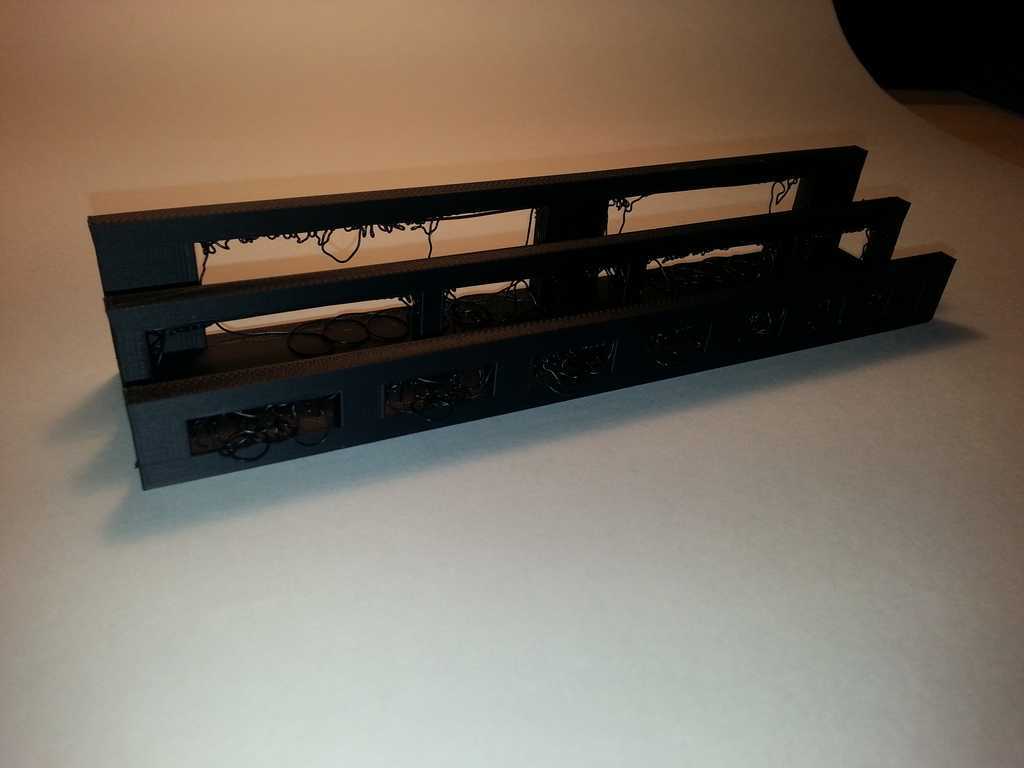
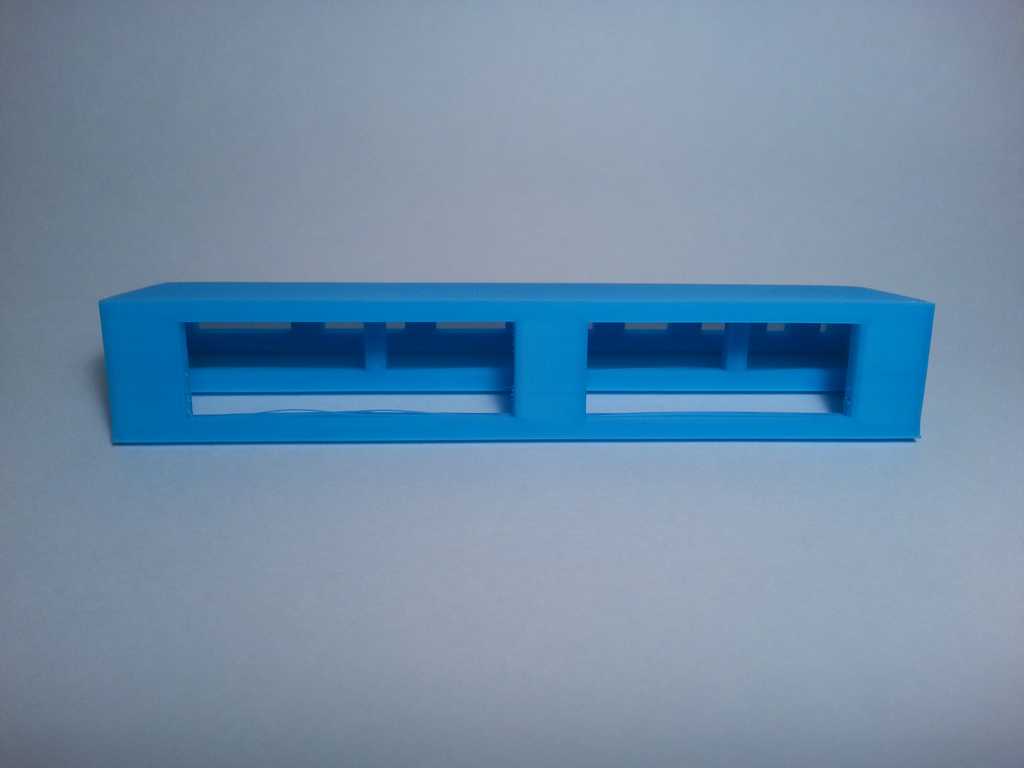
I setup a test part to see how good the bridging is. The outer beads of plastic bridged great! And then it tried to do the infill and failed abismally.
That should help, but I think that's not the whole problem.
The perimeter beads are bridging fairly well. I think the problem is that fill beads between are going diagonally, not along the direction of the bridge:
70
71
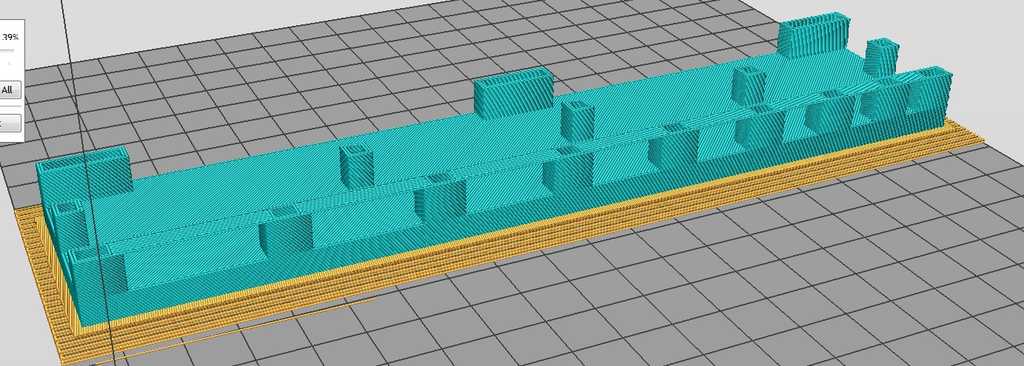
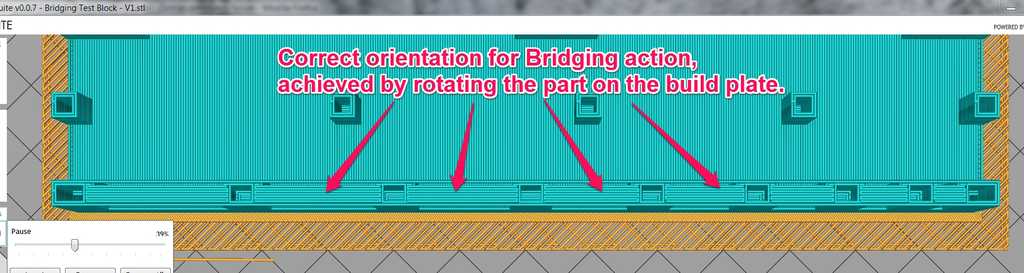
It looks like you can "work around the problem" by rotating the part in the build plate's Z axis:
69
The interesting thing about this is that it appears the angle of the fill pattern for top and bottom layers is hard coded in relative to the X/Y axes of Z-Suite, instead of being solved for based on the part geometry. Solving for the part geometry might be a better solution in the long run (for example, if you have bridging in multiple directions and at multiple layer heights) but it's a lot more complicated to code. Also, the current setup has an added benefit that you can control the orientation of your surface finish by rotating the part around the Z axis on the build plate.
I'm guessing that those who had luck with bridging were successful because they had part walls that spanned the fill section's 45 degree pattern (for example, a complete circle). For something like my test block, it doesn't work unless you orient it correctly.
I'm going to print the rotated part (with 100% fan) and see how it improves.
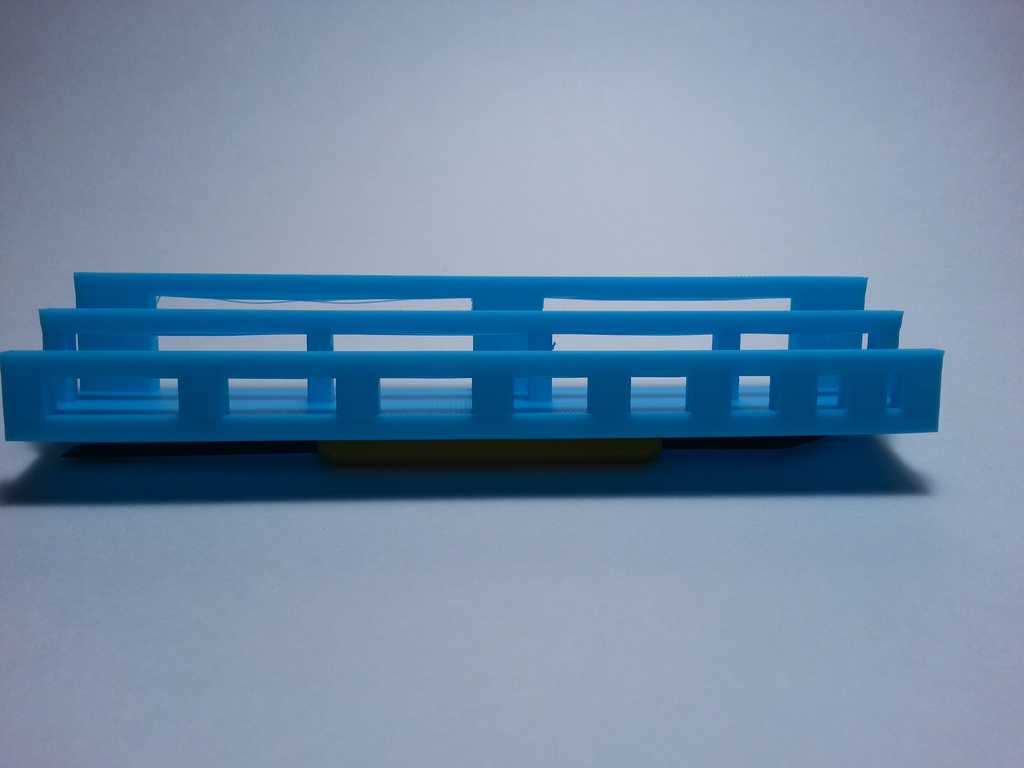
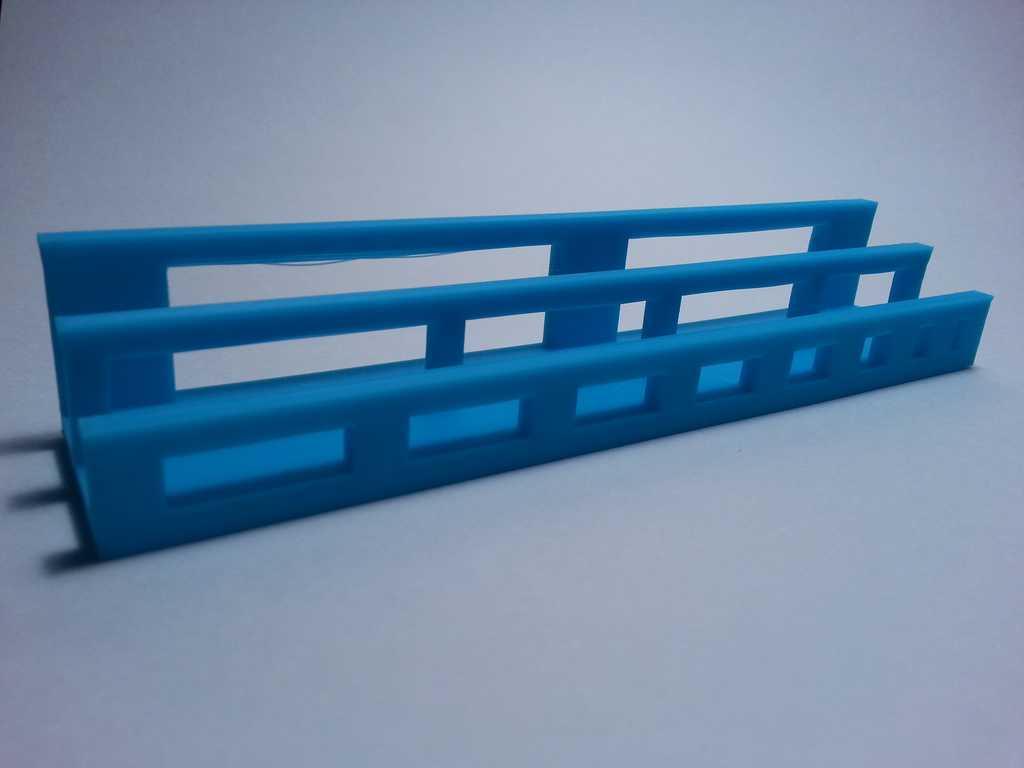
Ok.. Ran 3 tests on bridging.. First 2 are at 90 degree. One with 100% fan other at 0% fan. Last test rotated part to 45 degree as you had mentioned 100% fan. Largest gap is 1 inch (25.4mm)


