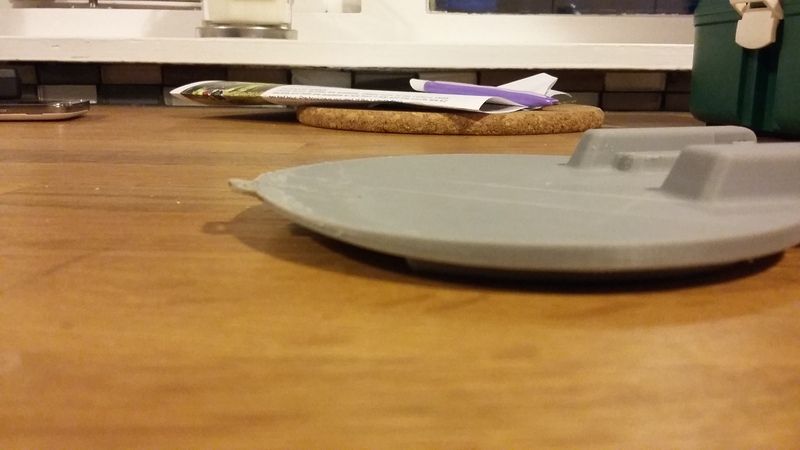
I've been printing for a while and never have found a reason to use full support. However I'm printing a wide and flat part for a customer that are essentially two case halves. The attached images are generic enough to show the problem but don't show all the interior design details. I'm printing it in Zultrat, .09µm, Solid, LightSupport, AutoFan, and the several case half are pulling up off the raft at the outside edges. The parts however are useable but I am wondering if this is a time I should consider using Full Support or any tips others have. Guess I'm amazed how well the prints always are with Support Lite that I'm wondering why you would use Full Support but think this may be a reason. Any tips on perhaps putting a pause after the raft is made and adding glue or something to keep corners pinned down?
An interior part that is part of the same project is a flat honeycomb insert and it failed miserably. I use the same settings as above in Zultrat and it appears that the Lite Supports didn't hold up on the outside edges and perhaps as a result the interior honeycomb was half printed. I'm at a loss on this one and feel like I should go Full Support on this as well.
Thanks for any ideas.
 [/URL]
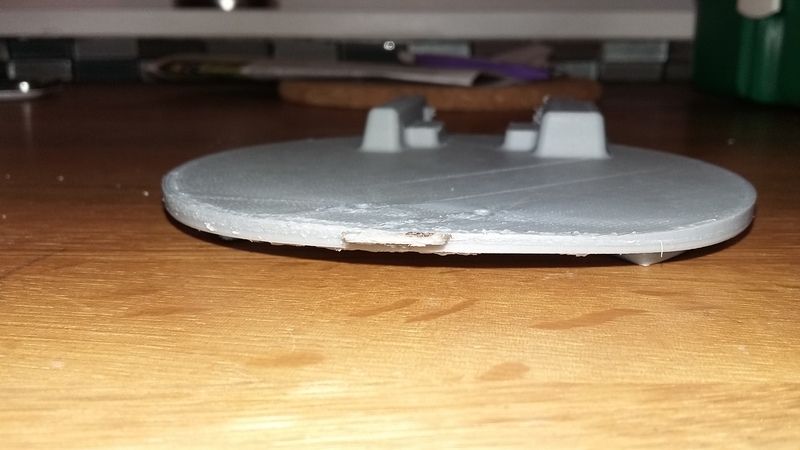 [/URL]
 [/URL]
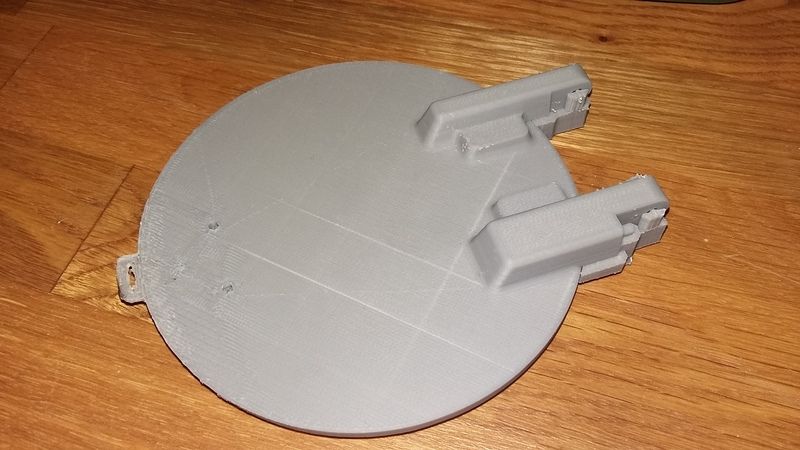 [/URL]