I've got a large part that I've been having trouble printing. After two attempts with limited success, I decided I would post what I was trying to do here to see what other thought, before I wasted more filament :)
The part that I'm trying to print is a shelf, 4.5" x 10", for mounting on a wall. Because of it's size, I'm printing it diagonally on the print bed, and on it's back.
Here's the model in Z-Suite: 123
Before the first print, I did a fresh ABS Slurry and checked the level of the bed - it was within .05mm all around. Also, for all of these prints I had foam walls up on both sides and the front of the printer.
First Attempt:
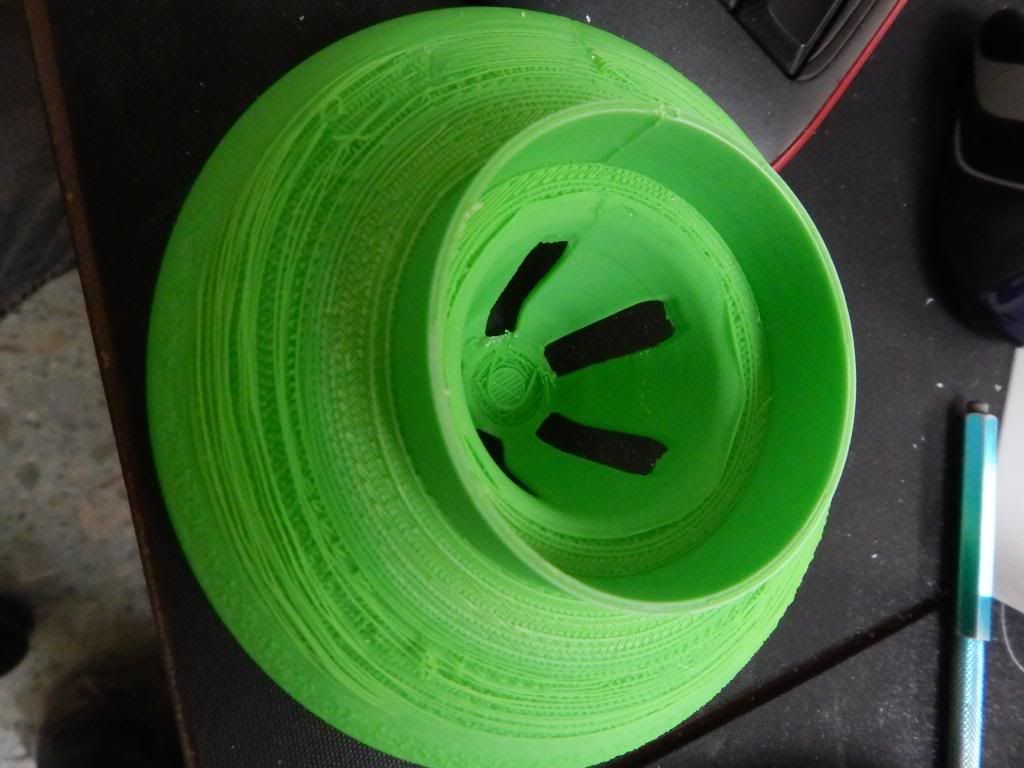
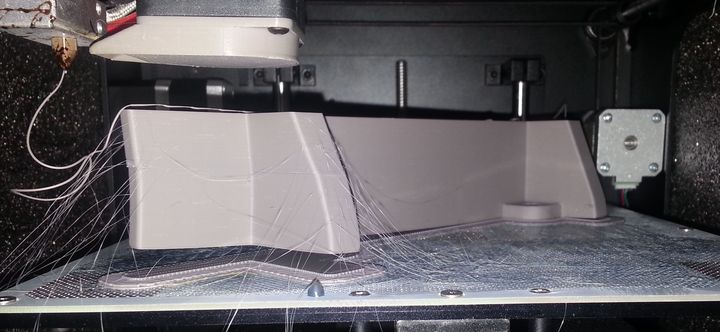
I aborted this print when I found the print was warped, detached from the raft, and had strings everywhere: 120
Print Settings: .39mm Layer, Light Infill, 10deg Support, 100% Fan, Yes Avoid Holes, 4 Top Layers, 4 Bottom Layers
I think the fan setting was a big part of my problem. I'd had problems with tall skinny parts in the past that needed 100% fan, but they were considerably smaller.
Second Attempt:
For the second attempt, I made the model shorter (9" instead of 10") so that I could rotate it more on the print bed. (This was done because I wanted to change the infill orientation, not to address the warp problems).
To try and help with the warp & stringyness, I turned the fan off and lowered the layer height.
Print Settings: .29mm Layer, Light Infill, 10deg Support, 0% Fan, Yes Avoid Holes, 4 Top Layers, 4 Bottom Layers
Results: 121
As you can see, the warp and stringyness both improved, but the part isn't really useable.
So here is the big question: Is there something I can tweak in the print settings or my procedure to fix my warp problems, or this file just too ambitious for the M200?
I'm already doing most of the things that have been discussed on the forums (Sand the perf board, scrape perf board clean before printing, remove excess ABS under perf board, acetone wipe & ABS slurry the board, tram the bed to the gantry, enclose the sides and front, use Light infill, etc). Interestingly, these suggestions have mostly been addressing prints that cover a lot of the print bed, but short. My print is long, but tall and skinny. Also, the design of my part is not very forgiving to the warp issues (any warp problems are easily seen because it's all large, straight sides)
My hope is that there is some "secret sauce" someone can suggest for the print settings that will fix the warp and stringyness . If not, I've been working on a modified design which might help with the warp, and I could always print it with Ultrat (but I'd rather not due to the cost).
Thanks in advance!
 [/URL]
 [/URL]
 [/URL]
 [/URL]
 [/URL]
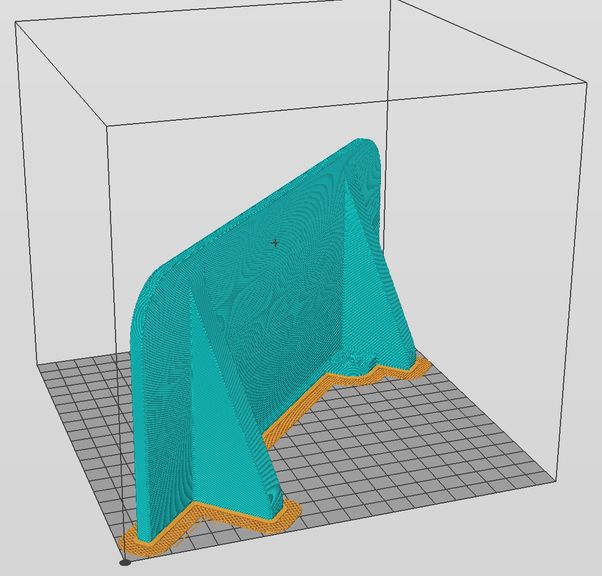