I admit, the rotary selector works a bit clunky but it’s how it is with Marlin at the moment. Maybe there is still something I can do.
Auto level requires clean nozzle and platform to make clean contact, otherwise it may do as you described. In general I’m not sure how usefull this feature is (it doesn’t save results to flash memory as it’s not implemented).
SD card is another thing that works not too well. I suggest to format it and put on it just minimum amount of files - it works faster then.
Please, keep in mind that I’m not Marlin experienced user, so I’m not sure what’s normal and what’s not and must rely on community input. This release is for the community that wished for opening our printers, especially old ones, to other slicers (G-code support). This version is minimum that allows to just do it.
There is still option to use it with OctoPrint (or some other G-code UI) through UART adapter with PC or using Raspberry Pi. I just need to prepare some guide and pinout for tinkers to play with if anyone is interested.
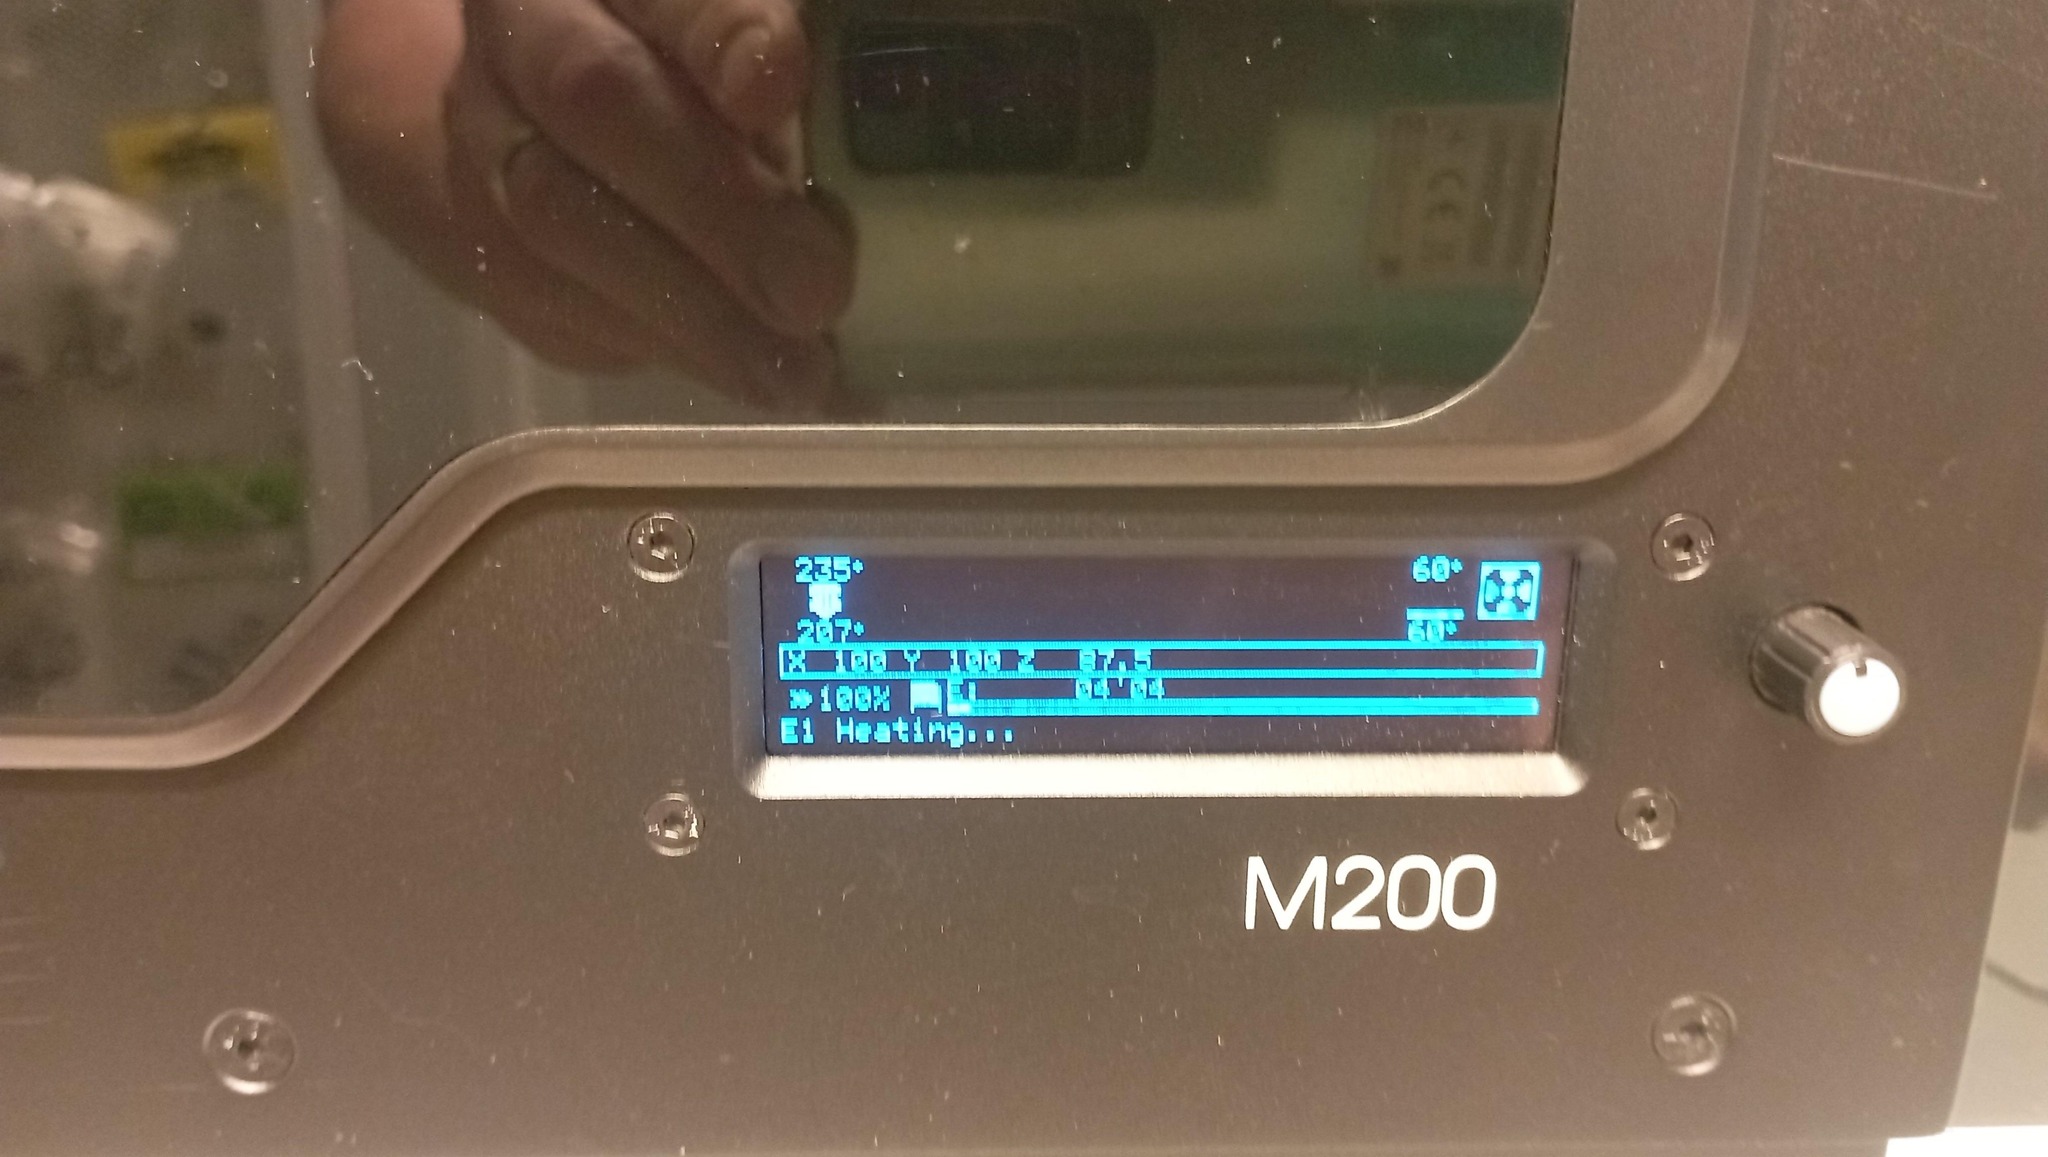
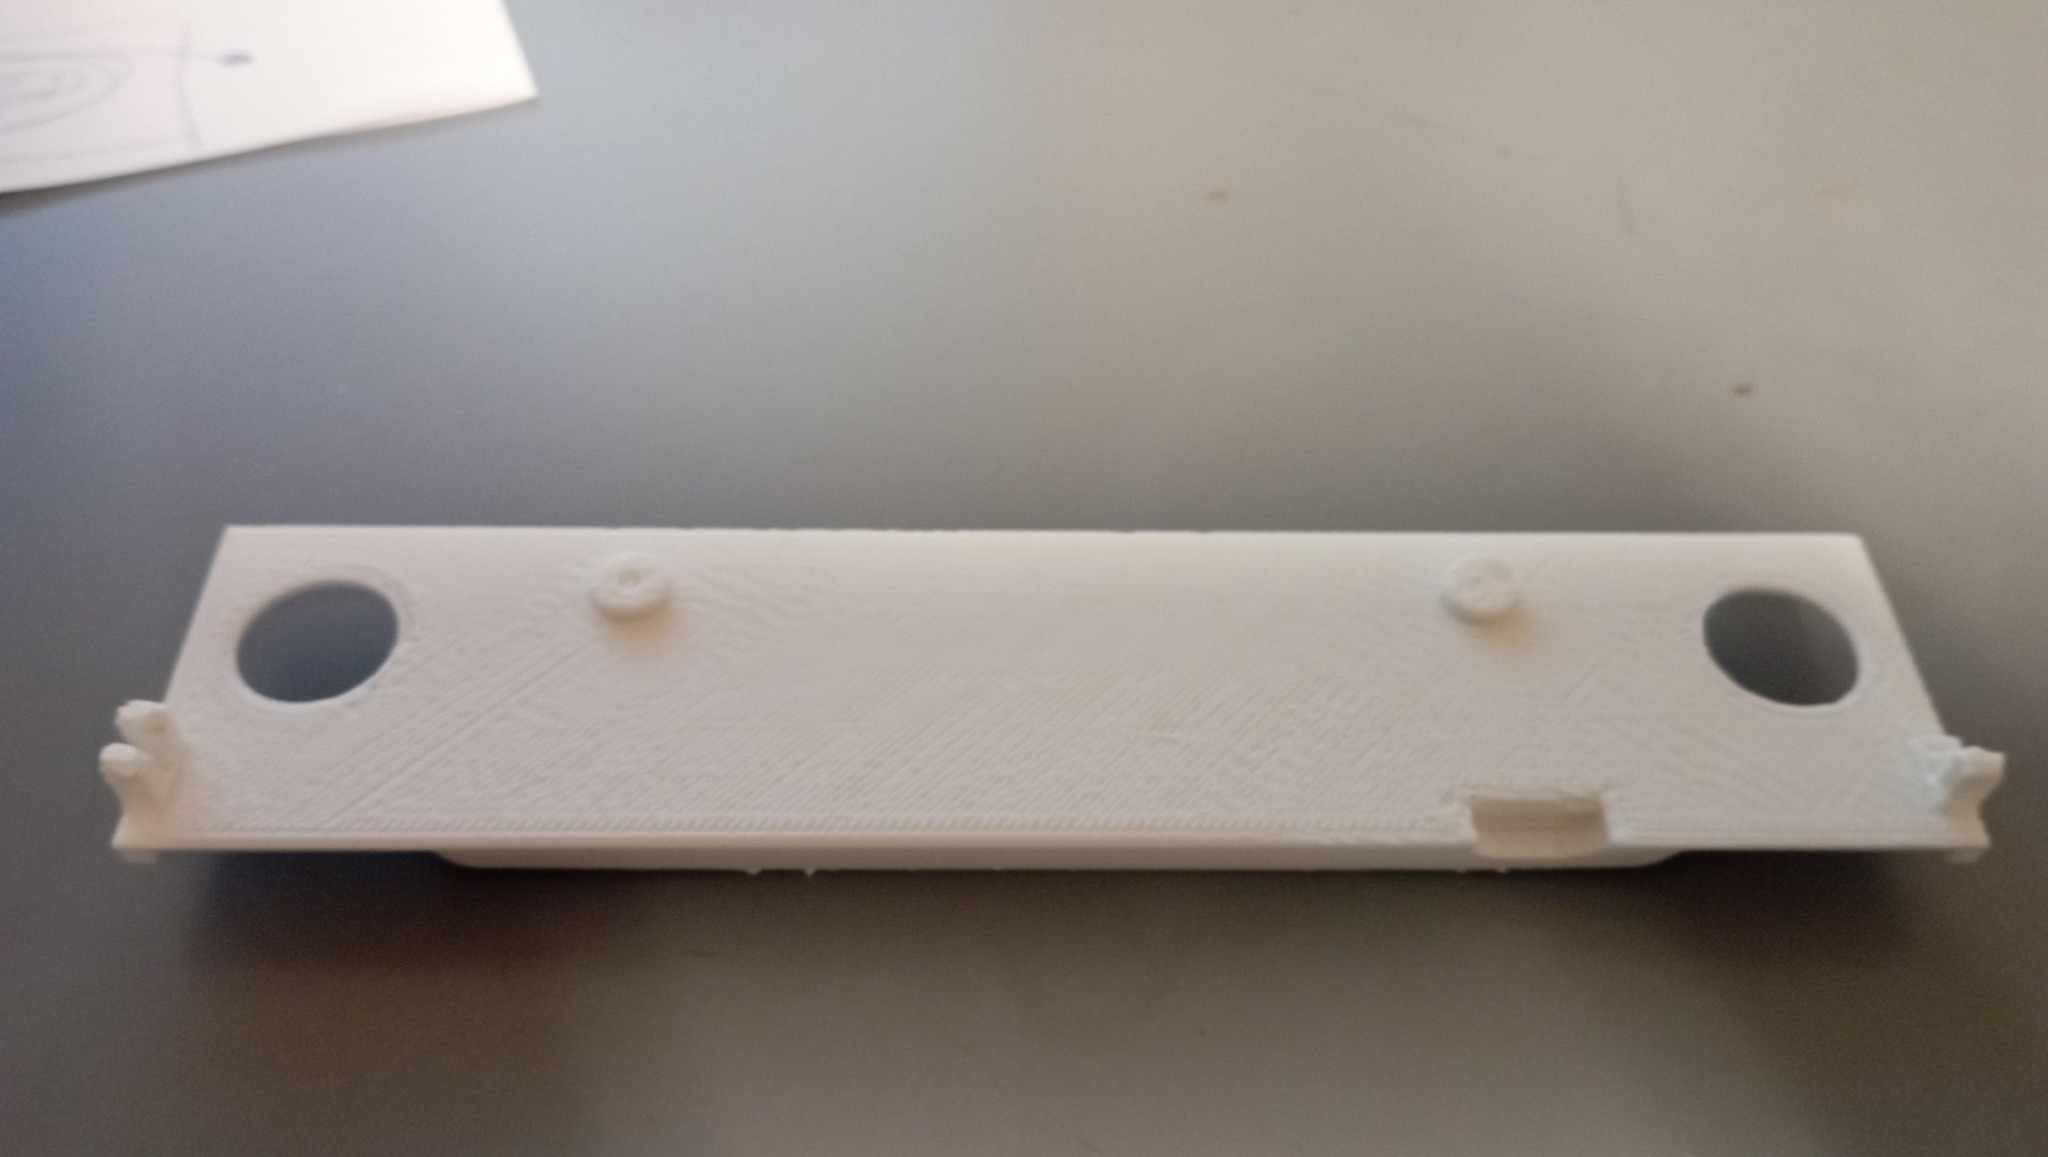
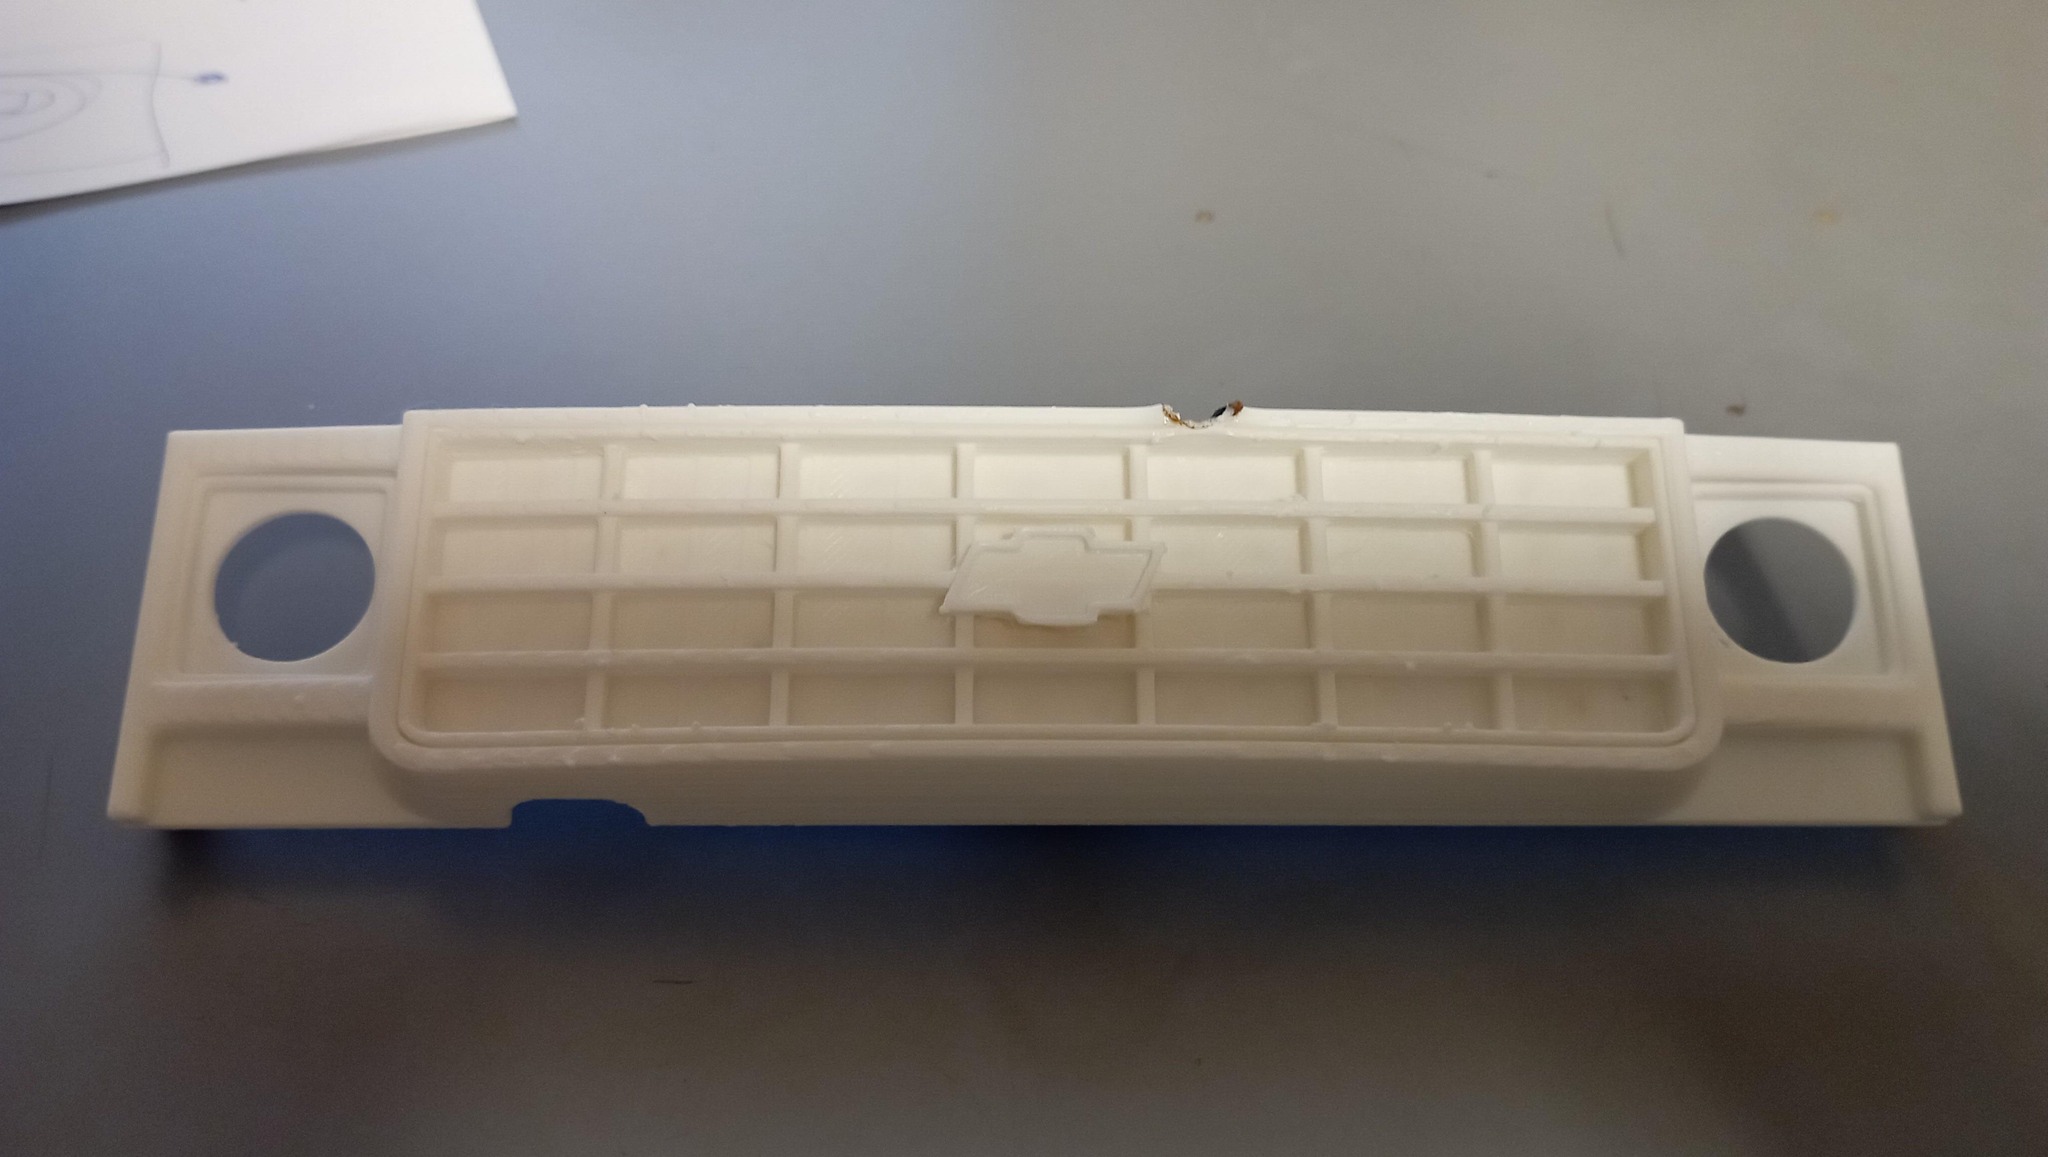
Test part printed
I made a mistake in final gcode forgot to use relative positioning and dug nozzle into part.
Have to tune retraction because there are bobbles here and there
The back of the part is flat and I always had so many problems removing it from raft sliced from zsuite. Now it came off very easy.
I played with speed and temperatures on the fly: sliced at 50mms I pushed up to 300% speed while printing raft, then reverted back to 100% for overnight print. Never seen the head jumping here and there so fast
There’s a slowness feel using the menu but nothing is dramatic.
During printing there’s a Tune and Temperature item menu that are redundant, and Advanced options seems not useful in this moment.
I would put Access SD card first menu line instead of last since it will be the most used
I’m testing Level Bed:
I was expecting to tightening some screws but the procedure touched every pads and stopped.
did it memorized offsets of the plate somewhere ?
are those values stored when I turn off printer ?
This firmware was most awaited and is greatly apreciate
Again THANK for your efforts for making such an update
Thanks a lot for the update, i can’t wait to try it on my m200. Will it be released for the Inventure too? i’ve never been able to make it work with G2Z and it would be so expensive to completely modify it to marlin/klipper by myself
I think the procedure just tests platform (aka deformation scan) and applies skew in both axes during print. I’m not sure though. It can be included as G-Code command in file for scanning before the print but I’m not sure if it’s enough reliable and maybe it’s just better to level platorm properly. Maybe better to remove it altogether?
It doesn’t store the result on restarts (or any other setting) as EEProm is not implemented and implementing it requires more work as It’s not in Marlin for this specific MCU as far as I explored.
I’m collecting all the suggestions for another release.
Good evening, I read with interest that there is now an official Marlin build for the M200. I have already installed the firmware on the M200. How do I get the configuration in the Orca Slicer, for example? By the way, I still have an M200 that is converted to Klipper, not used for a long time.
I think you can add auto0.g (auto1.g etc.) G-Code file on SD card and It should be executed after power up. This way you should be able to set preheating with G-Code commands.
See Autostart | Marlin Firmware
I haven’t tested it yet.
can I update it with my custom firmware !?!?
there’s no way it find .bin file I put in SD card…except if I call it update.bin, it writes ‘update.bin found’ but I still get old fw version
I’m not sure If you are looking at correct configuration file. It should be 180 actually. Before compiling you need to copy corresponding configuration files from configurations repository (it’s 175 there at the moment which I probably should change).
This is not possible at the moment. Update.bin isn’t plain .bin file generated by compiler. It’s still encrypted and packed properly for bootloader to read it.
For now, the only option for you to install your build, would be to, using ST debugger, fully reset the MCU, install custom bootloader and then install your firmware. This would result in erasing all settings, lifetimer, serial number etc. and you wouldn’t be able to install official update anymore so that’s option for advanced tinkers. I’d say, it’s option for those who have damaged MCU and would want to replace it by themselves.